






If you’re planning a replacement boiler in Surrey, it’s completely normal to feel a bit unsure about what actually happens on installation day. For most people, it’s not something you deal with often. You just want it done properly, with minimal mess and no surprises.
I’ve fitted boilers in all sorts of properties across Epsom, Wimbledon and Worcester Park, from tight Victorian terraces to newer flats with barely enough cupboard space for a combi. While every home is slightly different, the process follows a clear pattern. Knowing what to expect makes the whole thing feel far less daunting.
This guide walks you through it step by step so you can feel prepared and confident when the engineer knocks on the door.
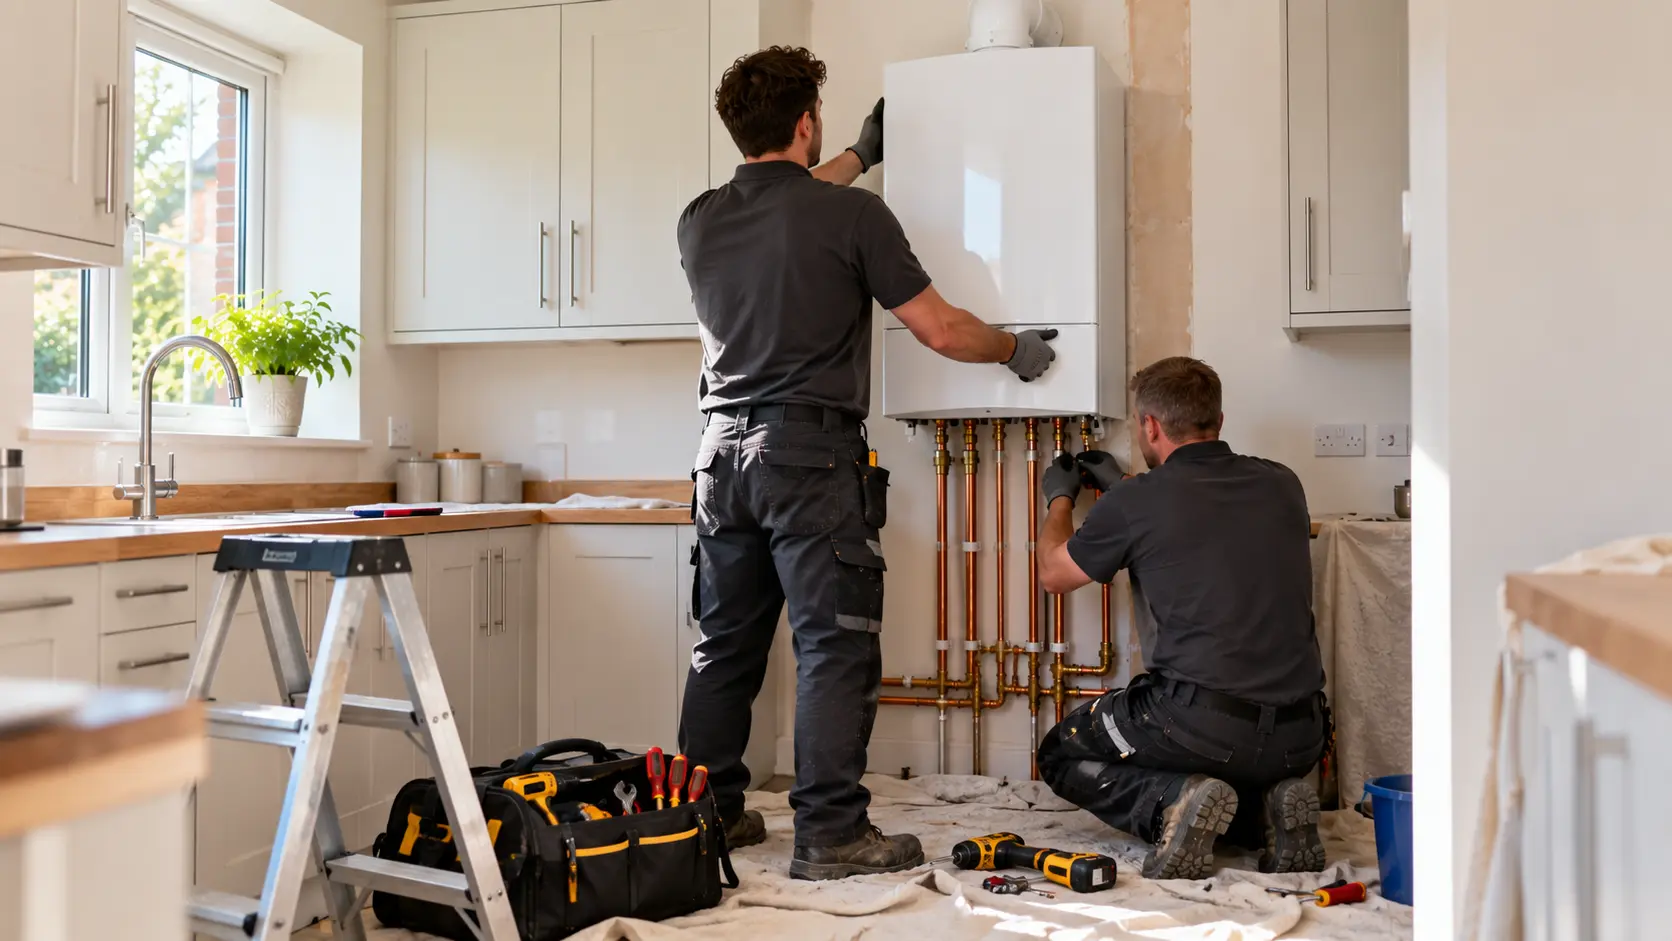
Why Knowing What to Expect Matters
A boiler installation is not just a quick swap and away we go. In many cases we’re draining the system, adjusting pipework, fitting new controls and testing everything thoroughly before we leave.
When homeowners know the basic plan for the day, it helps with:
- Clearing the right areas in advance
- Planning around water and heating being off for a few hours
- Asking sensible questions at the right time
- Feeling confident the job’s being done properly
Most installations take one full day. Occasionally, if we’re relocating the boiler or upgrading from a regular system to a combi, it can run into a second day. That’s something your installer should confirm well before the work starts.
Before the Engineer Arrives: Preparing Your Home
Clear Access to the Boiler Area
This makes a bigger difference than people realise. Whether your boiler is in a kitchen cupboard, loft or utility room, clear the space properly.
That means emptying the entire cupboard, not just the front half. We need room for tools, parts and safe access to pipework.
If the boiler’s in the loft, make sure the hatch is accessible and there’s a safe loft ladder if possible. I’ve been to homes in Worcester Park where we’ve had to delay starting because the loft was packed floor to ceiling.
Protecting Floors and Furniture
Your engineer should use dust sheets as standard. We certainly do. That said, it helps if you move rugs, small furniture and anything delicate away from the work area.
There will be some noise when the old boiler is removed and new flue holes are adjusted. It’s all normal, just part of the job.
Be Ready for the Heating and Water to Be Off
Your heating and hot water will be off for most of the day. In warmer months, that’s not a big issue. In winter, it’s worth timing the installation for a milder day if possible.
Some customers in Epsom ask if they can use water at all during the job. The short answer is usually no once we start draining the system, so fill the kettle beforehand if you’re working from home.
Step-by-Step: What Happens During Installation Day
1. Initial Checks and System Drain Down
When we arrive, we’ll confirm the work being carried out and run through the plan again. Then we isolate the electrics, gas supply and water before draining the heating system.
Draining down can take a little while depending on the size of the system and how clean it is.
2. Removing the Old Boiler
Once everything’s safely isolated, the old boiler is disconnected and removed. Some older units are surprisingly heavy, especially the older floor-standing types still found in parts of Wimbledon.
All waste materials and the old boiler itself are taken away for proper disposal.
3. Upgrading Pipework and Fittings
This is the part people don’t always see coming. Modern boilers often require adjustments to:
- Gas pipe sizing
- Condensate pipe routing
- Flue position or lining
- System filters
If we’re fitting a magnetic filter to protect the new boiler, this is when it goes in. It helps keep the system clean and can extend the life of the appliance significantly.
4. Mounting and Connecting the New Boiler
The new boiler is fixed securely in position, connected to gas, water and heating pipework and wired into the electrical supply.
The flue is installed or adjusted to meet current regulations. Clearances are checked carefully. This is not an area for guesswork.
5. Filling, Pressurising and Testing
Once everything is physically connected, we refill the system, pressurise it and bleed the radiators as needed.
Then comes the important bit: full commissioning. That includes:
- Gas pressure checks
- Combustion analysis
- Thermostat and control testing
- Hot water performance checks
We don’t pack up until we’re satisfied it’s running exactly as it should.
After Installation: Checks, Handover and Next Steps
System Demonstration
Before leaving, your engineer should show you how to use the programmer or smart thermostat, how to top up the pressure if needed and what the basic fault codes mean.
This is the time to ask questions. No question is daft. I often get asked how often the pressure should drop or whether certain noises are normal. Much better to cover it there and then.
Benchmark and Warranty Registration
Your installer will complete the Benchmark commissioning checklist and register the boiler with Gas Safe and the manufacturer for warranty purposes.
Make sure you keep the paperwork somewhere safe. As a landlord, you’ll also need to ensure it ties in with your Gas Safety Certificate requirements.
Ongoing Care
A new boiler still needs an annual service to keep the warranty valid and ensure it’s running efficiently. Skipping servicing is one of the most common mistakes I see, especially in rental properties.
If you’re unsure whether a repair or full upgrade is better in the first place, it can help to understand common boiler issues and warning signs before making the decision.
Replacing a boiler is a significant job, but it shouldn’t be stressful. With decent preparation and a clear understanding of what’s happening, the day itself is usually straightforward.
If you’re planning a new installation in Epsom, Wimbledon or Worcester Park, or want tailored advice on your specific setup, the team at AMT Heating are always happy to talk it through properly.
If you’re planning a new boiler, get in touch and we’ll talk you through what the day will look like in your home.